Overview
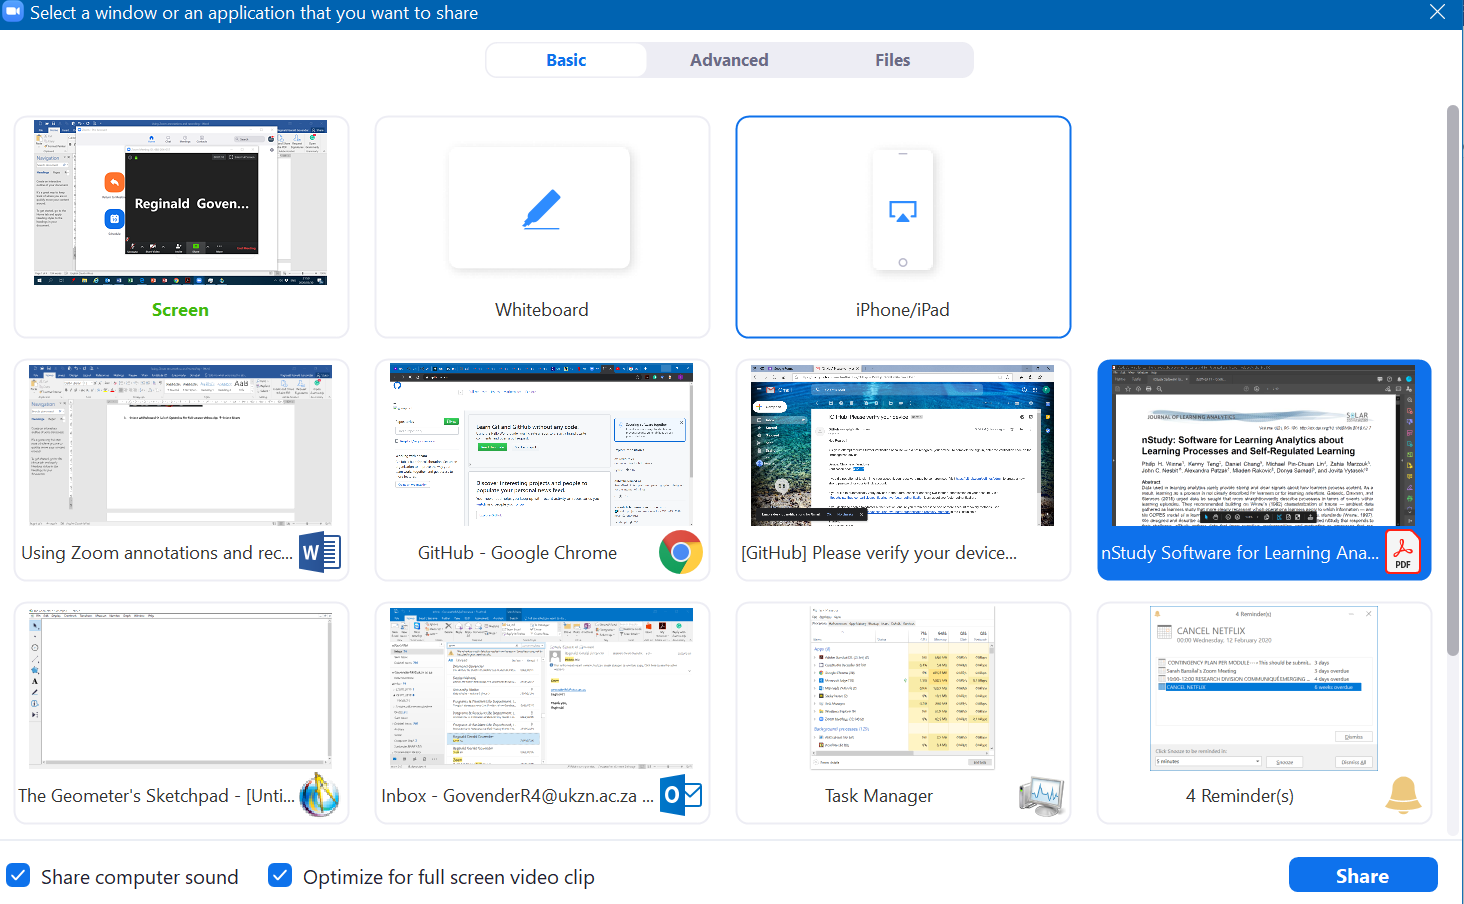
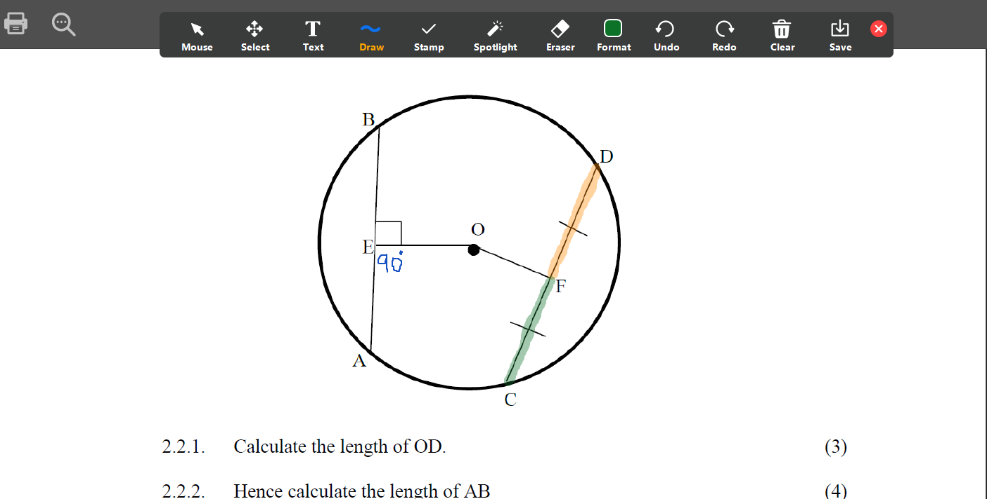
Zoom Meeting participants can annotate on a shared screen as a viewer or the one that started sharing your screen. You can also use annotation tools when sharing or viewing a whiteboard.
Prerequisites
- Annotation enabled
- Zoom Desktop Client
- Zoom Mobile App
- Joined or started a meeting with screen sharing
Note: The meeting host can disable attendee annotation. If you do not have the annotation option, confirm that the host has not disabled annotation.
Enabling annotation for meetings
Before using annotation, make sure it’s enabled in the Zoom web portal.
Account
To enable annotation for all users in the account:
- Sign in to the Zoom web portal
- In the navigation panel, click Account Management then Account Settings.
- Click the Meeting tab.
- Under Meeting (Basic), verify that Annotation is enabled.
- If the setting is disabled, click the toggle to enable it. If a verification dialog displays, click Turn On to verify the change.
Group
To enable annotation for a group of users:
- Sign in to the Zoom web portal.
- In the navigation panel, click User Management then Group Management.
- Click the applicable group name from the list, then click the Settings tab.
- Click the Meeting tab.
- Under Meeting (Basic), verify that Annotation is enabled.
- If the setting is disabled, click the toggle to enable it. If a verification dialog displays, click Turn On to verify the change.
User
To enable annotation for your own use:
- Sign in to the Zoom web portal.
- In the navigation panel, click Settings.
- Click the Meeting tab.
- Under Meeting (Basic), verify that Annotation is enabled.
- If the setting is disabled, click the toggle to enable it. If a verification dialog displays, click Turn On to verify the change.
Note: If the option is grayed out, it has been locked at either the group or account level. You need to contact your Zoom admin.