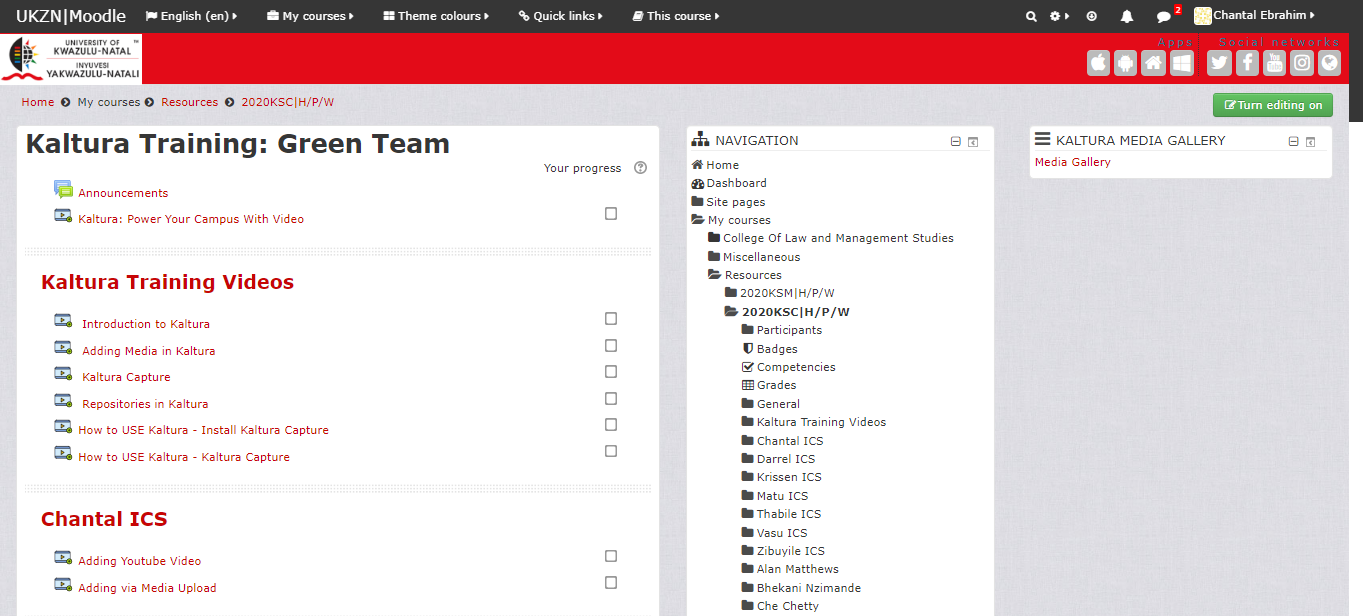
Step 1:
- Go to the UKZN Moodle LMS – Learn
Step 2:
- Click Login (top right).
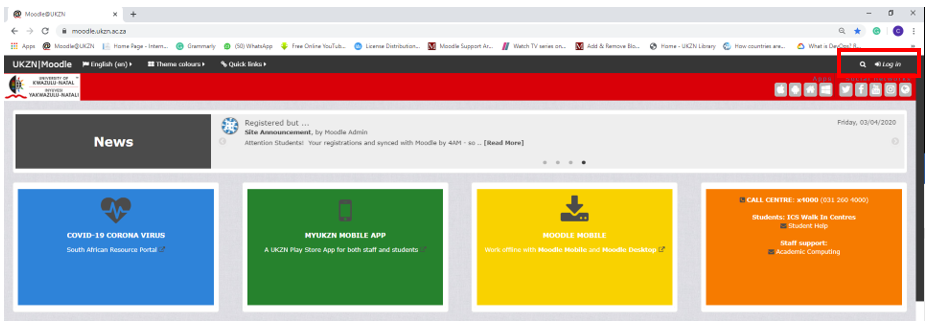
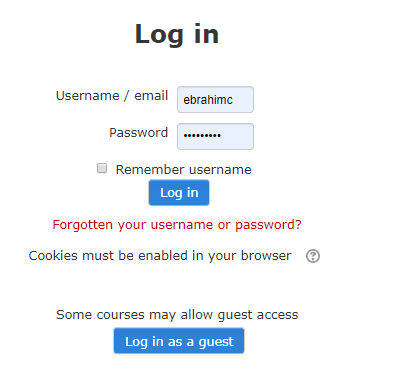
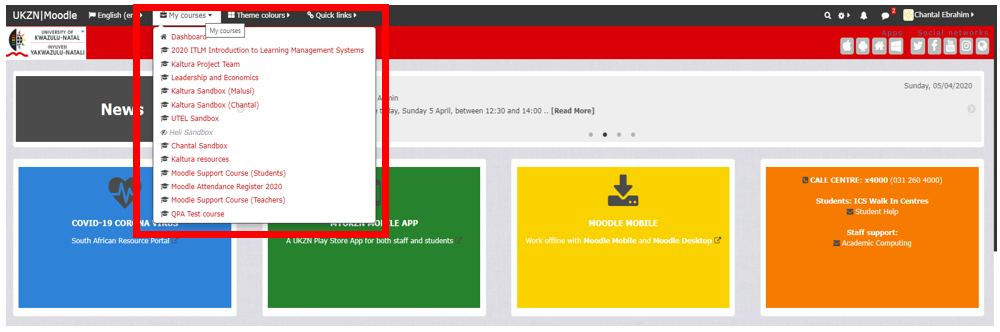
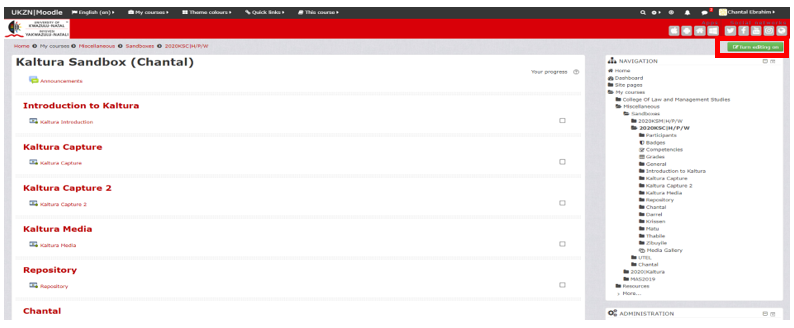
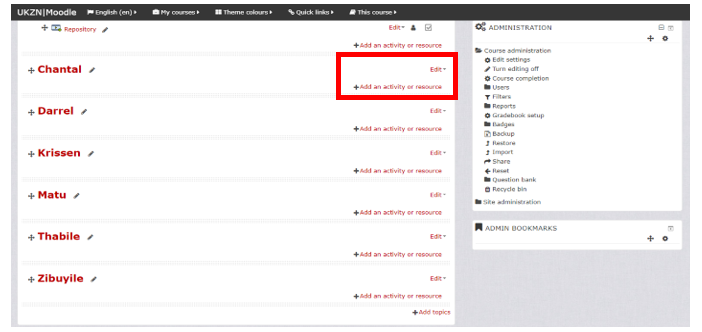
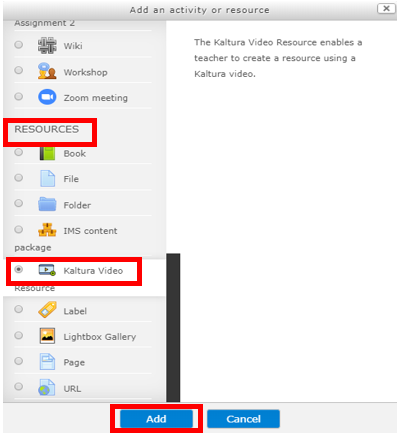
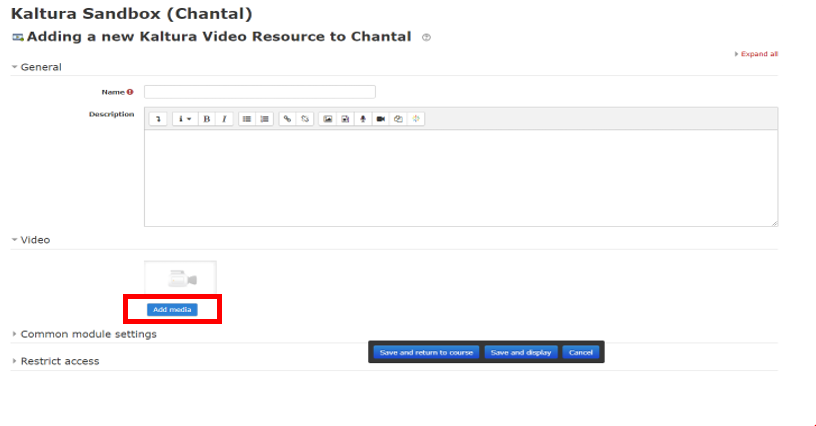
The preferred browser is Google Chrome/Firefox.
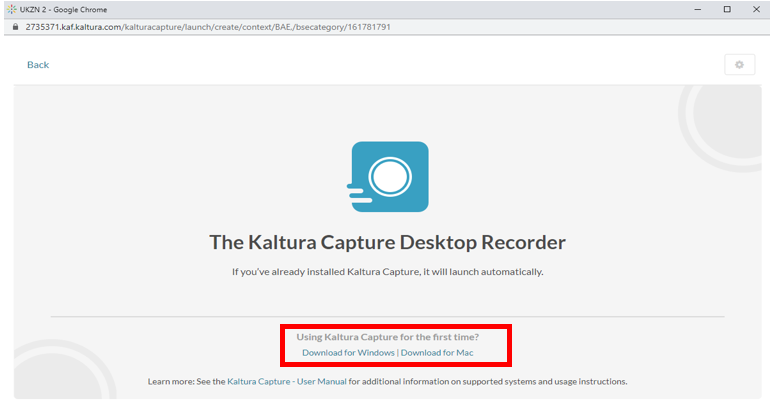
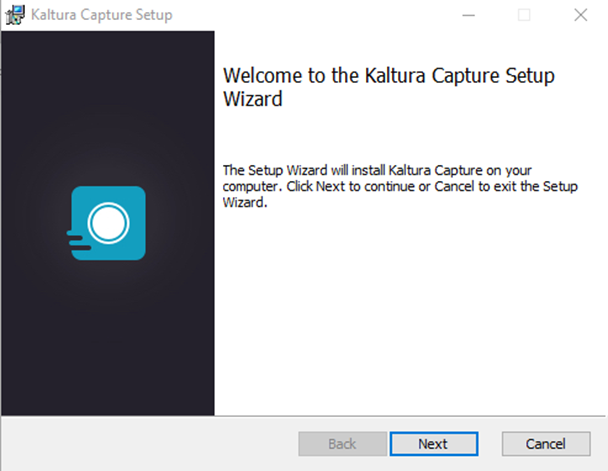
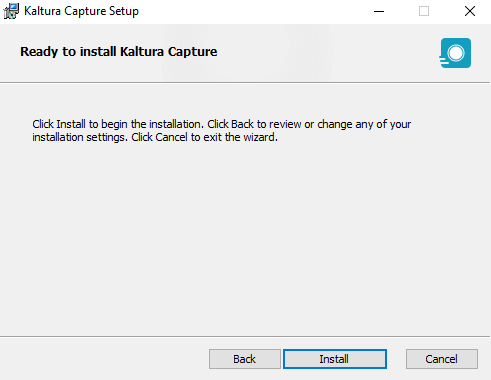
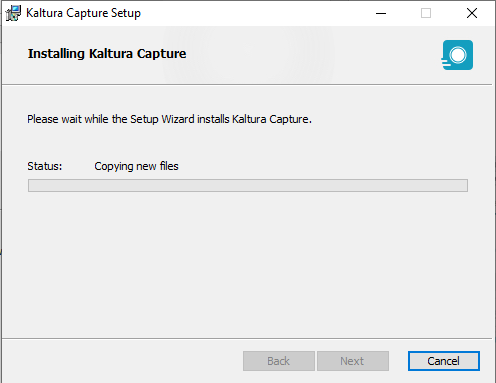
After the download has completed, you may locate the installation file in your computer’s Downloads folder, since this is usually the default location for all downloads.




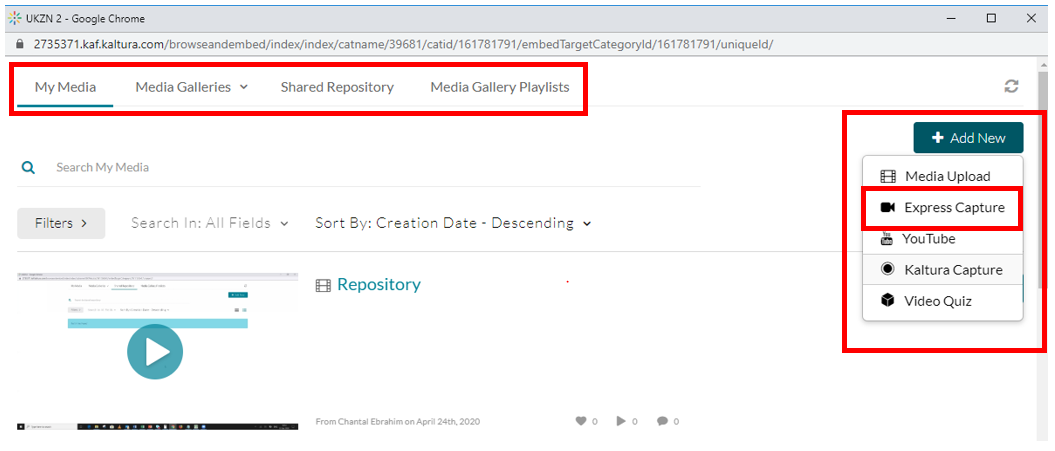
My Media: Contains content that you have uploaded and is only available to you.
Media Gallery: Allows to switch between the different media galleries for each of your modules.
Shared Repository: Allows sharing of content between Academics, Institution wide. An example would be a Turnitin “how to” video for students.
Media Gallery Playlist: Creates playlists of related videos, similar to YouTube playlists.
For more information on how to publish media files from “My Media” to “Media Gallery”, click here.
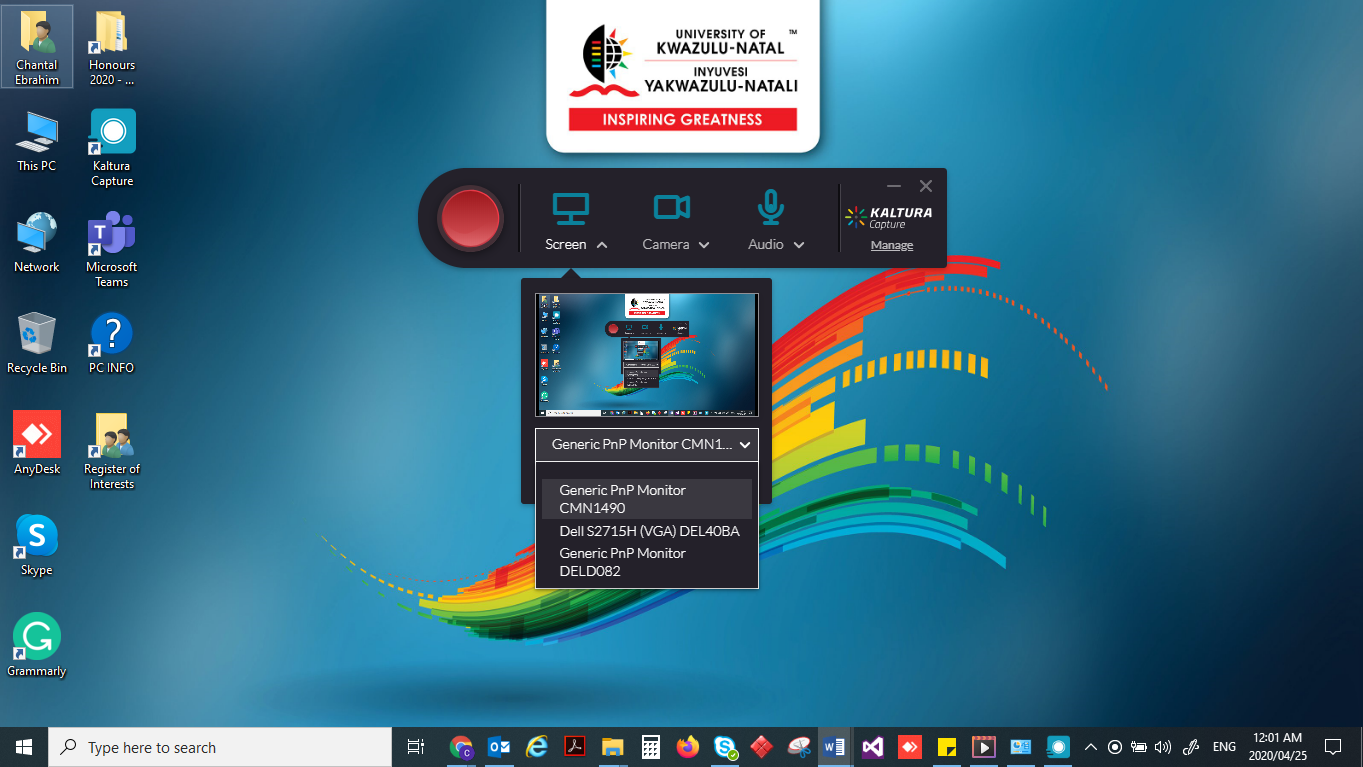
Kaltura Capture Menu Explained
Record Button: The big red button is used to record.
Screen: Click the drop-down arrow to select your screen if you are using multiple screens.
Camera: Click the drop-down arrow to select the camera you wish to use as well as preview the camera, click on the camera icon to switch the camera on or off.
Audio: Click the drop-down arrow to select the audio device you wish to use, click on the audio icon to switch the audio on or off.


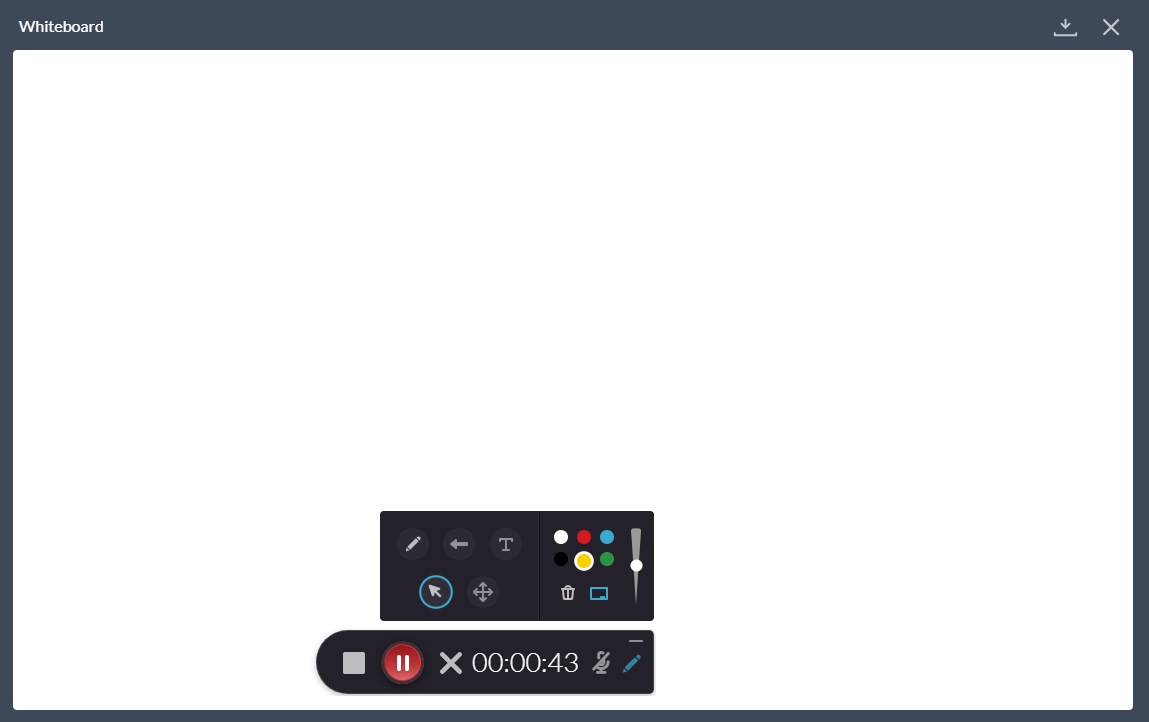
Recording Menu Explained
Stop: Stops the recording
Pause: Pauses the recording
X: Cancels the recording
Timer: Displays the duration of the recording
Audio: Displays if the mic is turned on or off
Pen: Opens the Whiteboard
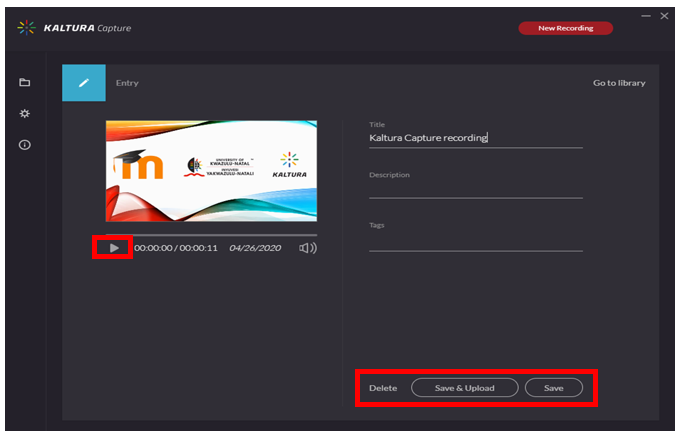
Delete: You may delete the recording if you are unhappy with it.
Save & Upload: Saves and uploads the recording
Save: Saves the recording.
NOTE THAT YOU CANNOT UNDO THE DELETE ACTION.


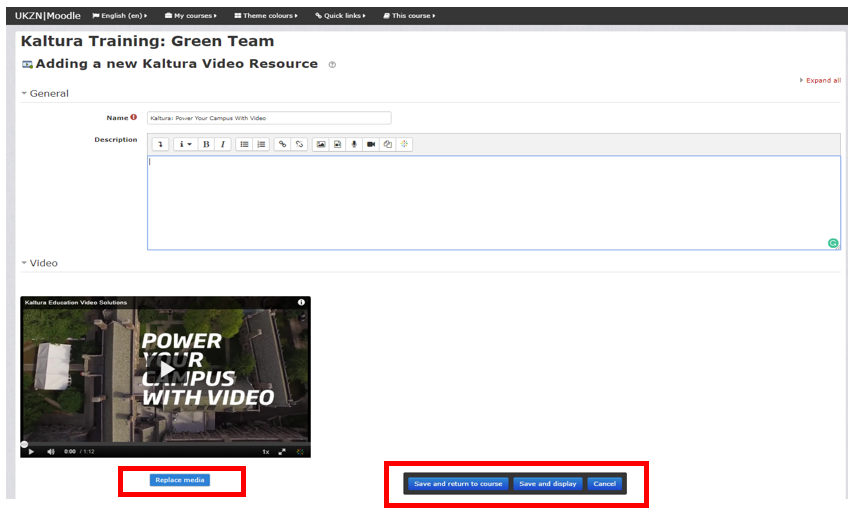
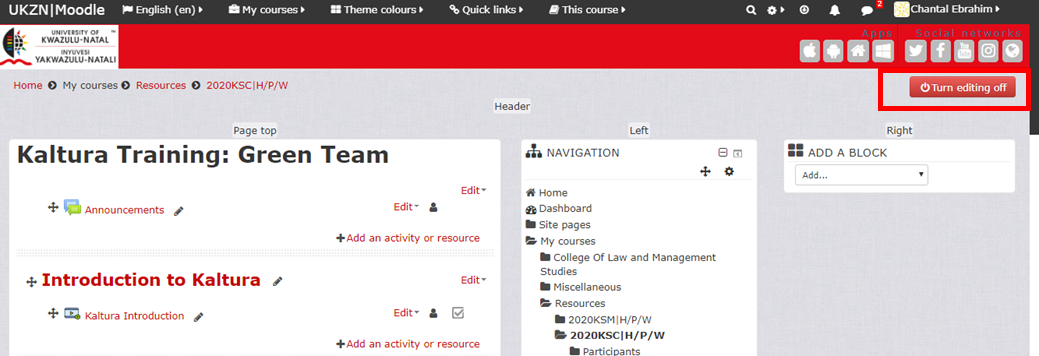

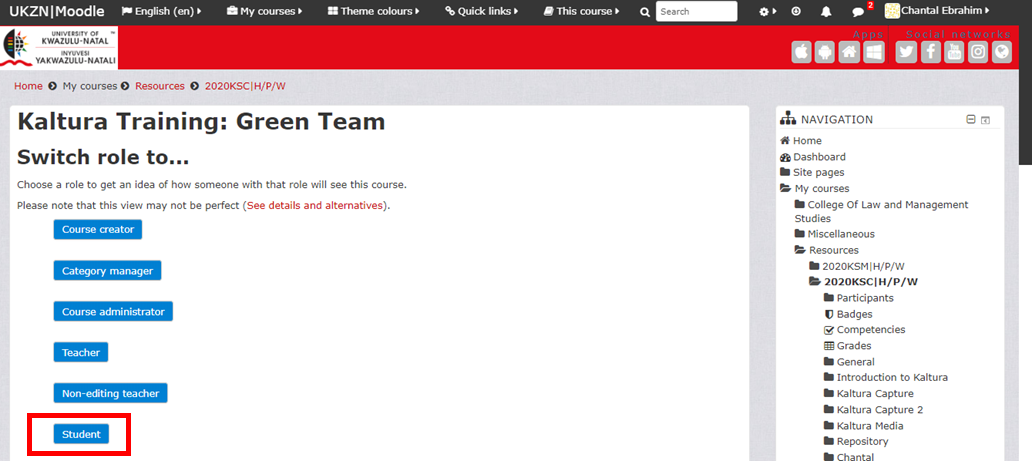
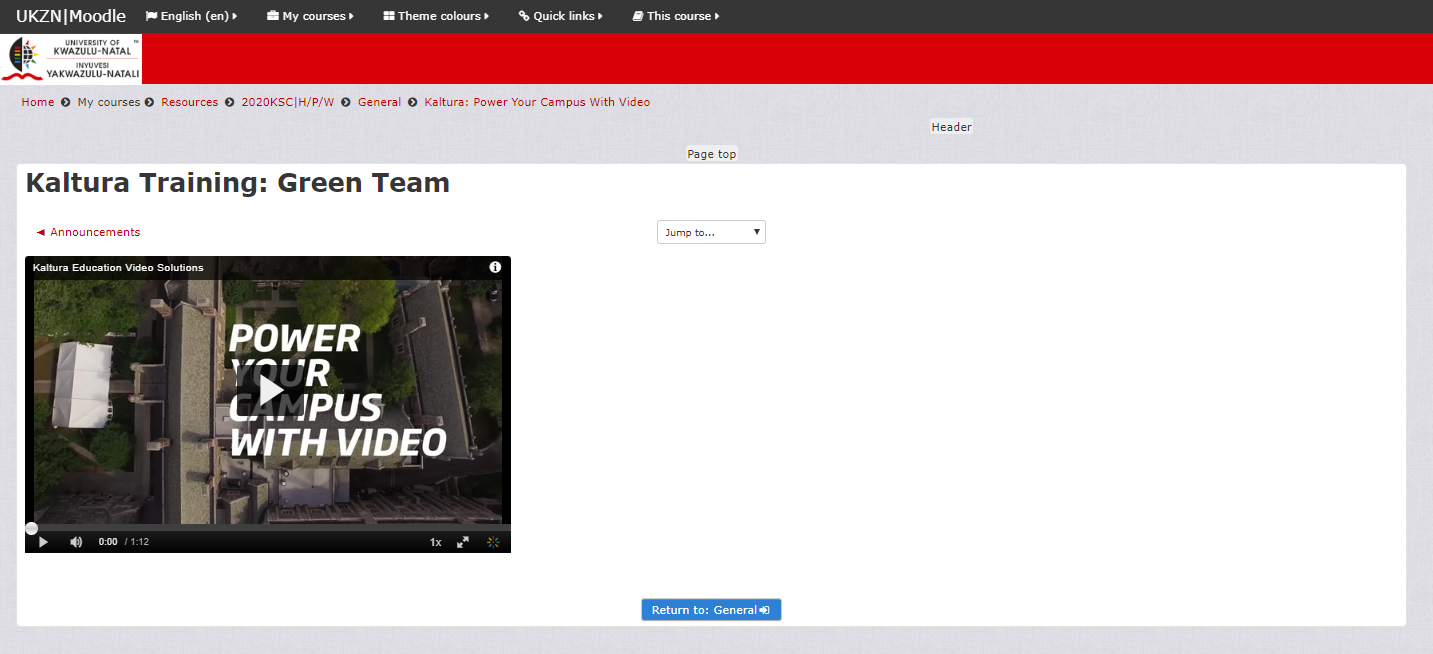

Returning to your Normal Role will allow you to edit your page accordingly.